fbpx

All Posts by Gartmore House

Everything you need to know about embroidery course tutor, Susie Finlayson

An example of what a student could learn during an embroidery course. It features a rectangular canvas on a blue background and the canvas had a purple Paisley pear with purple and turquoise flowers.
An example of what you could learn during an embroidery course

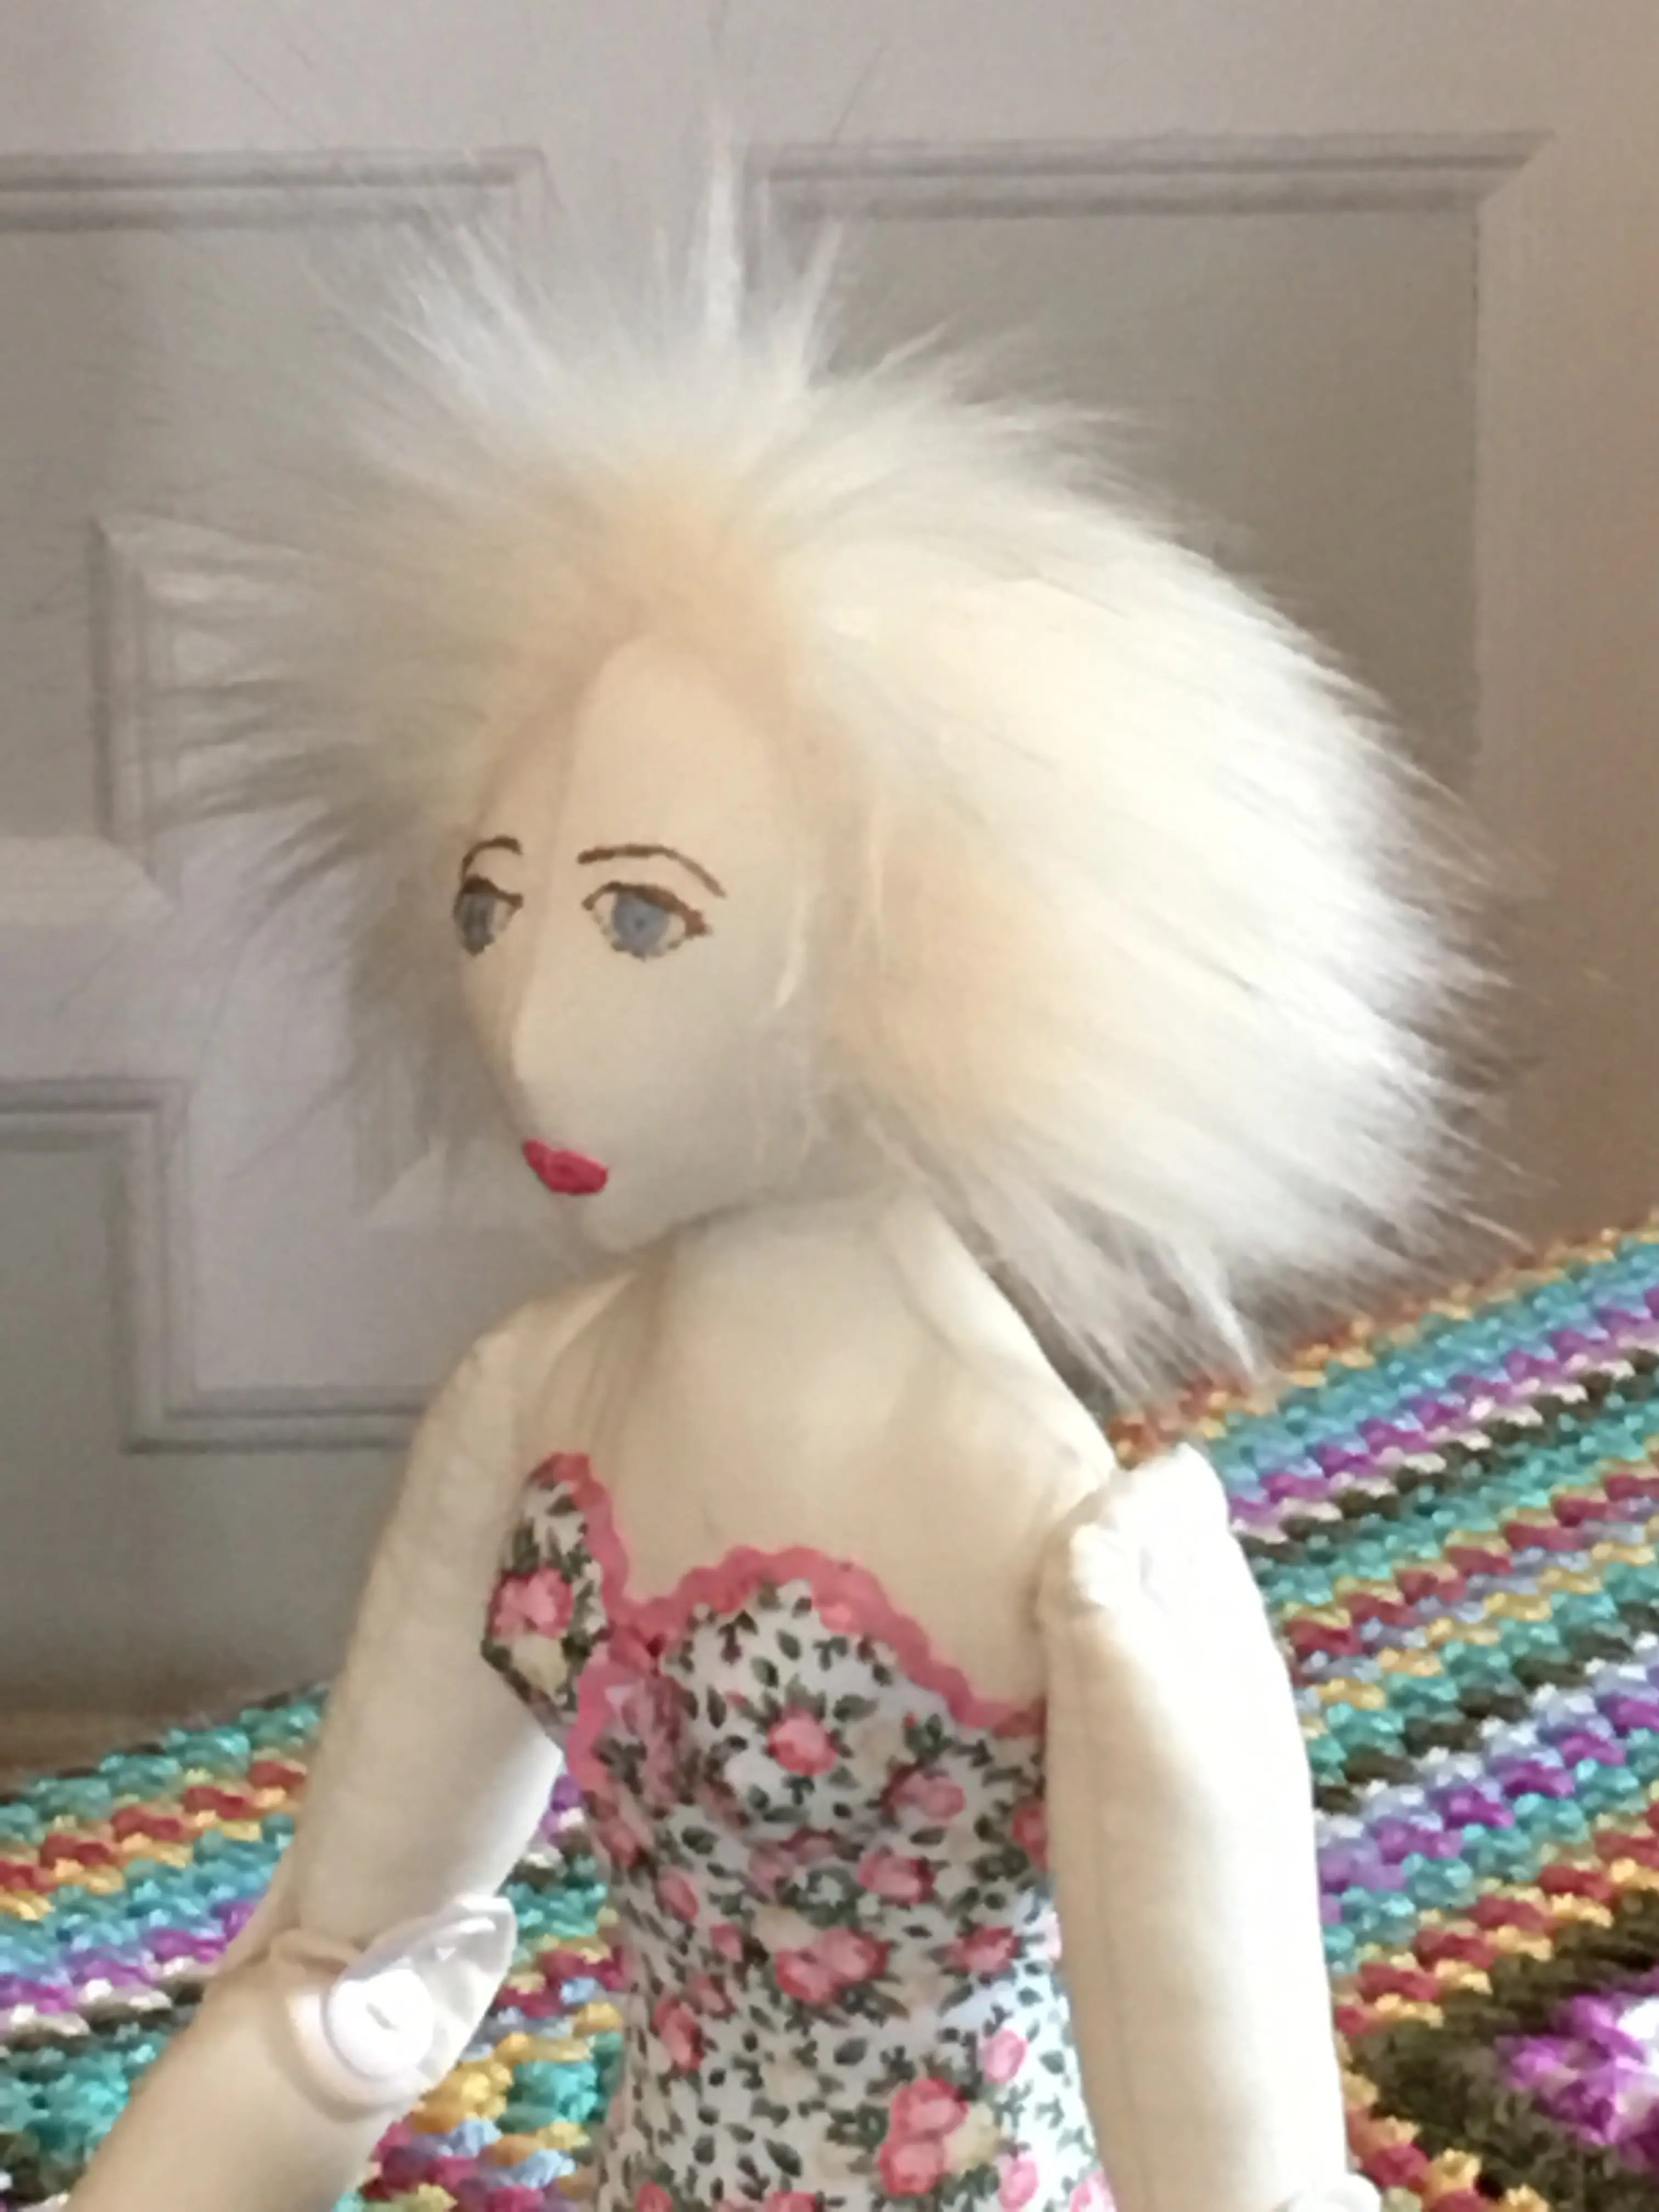
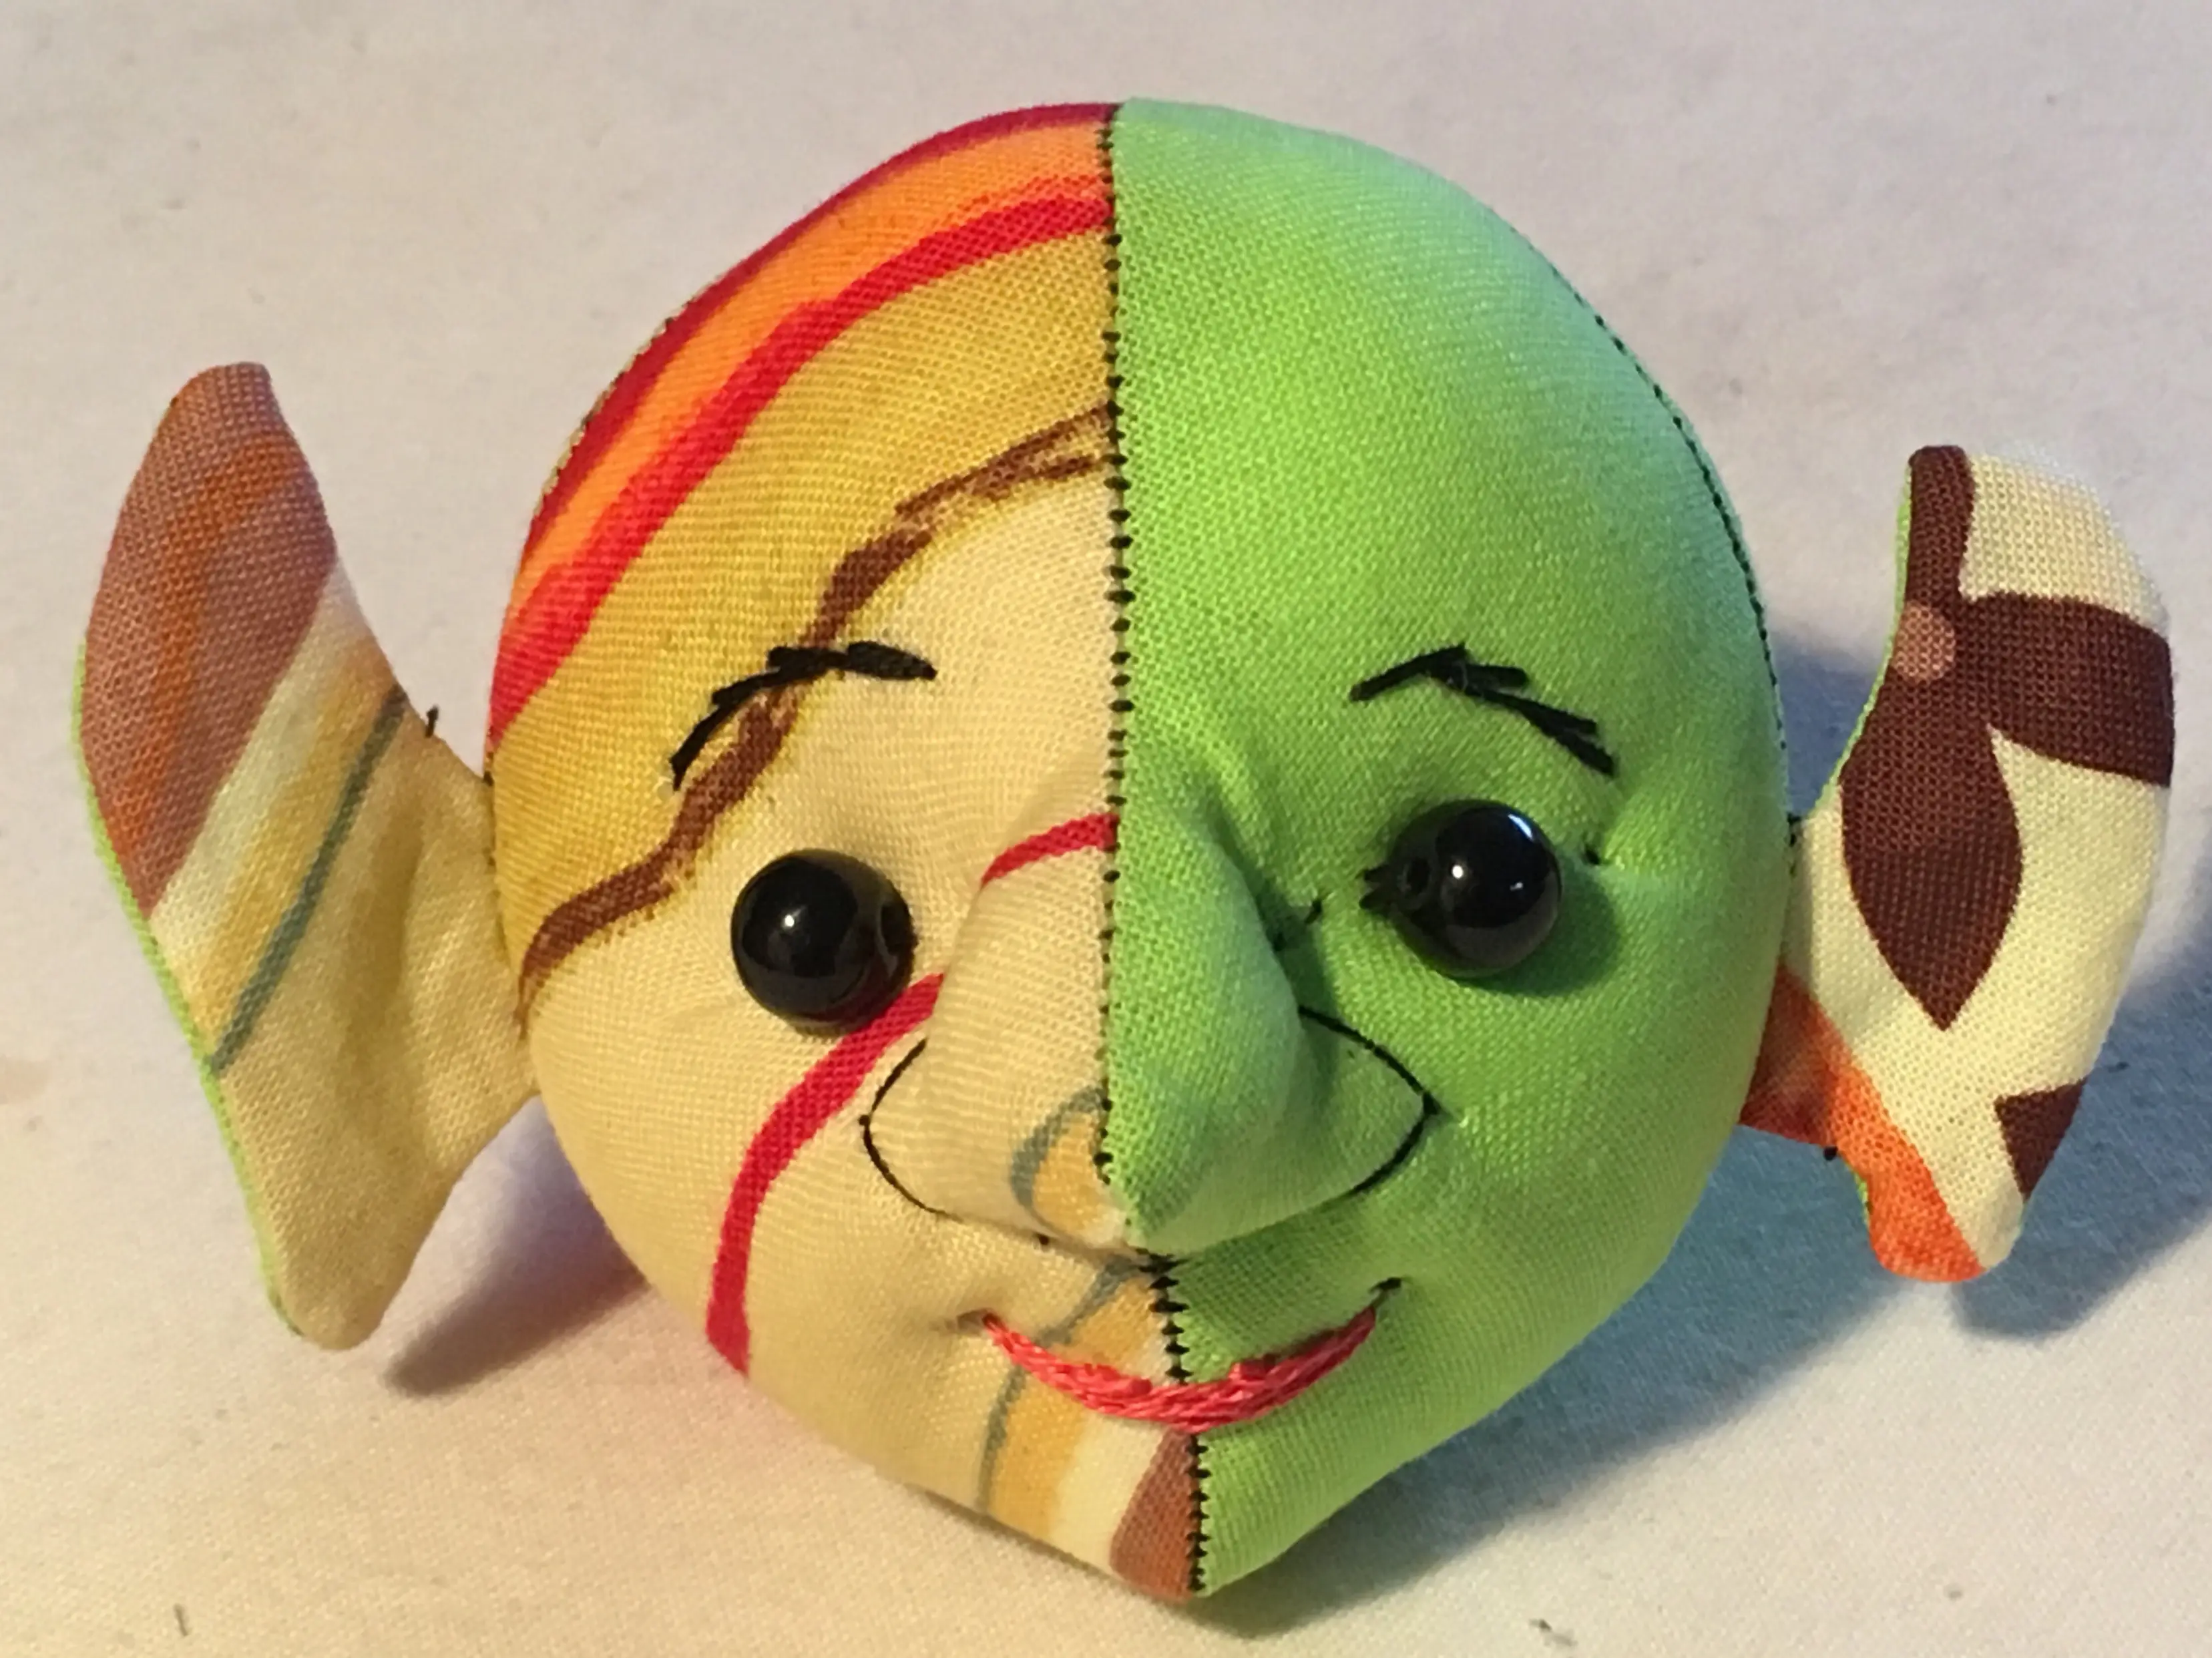
From the very start, people wanted to see an embroidery course here at Gartmore House. From 2022, we’re delighted to include it on our course programme and to get people stitching! Susie Finlayson is an experienced embroidery tutor and has been teaching her craft for many years. We had the chance for a catch up with recently to pick her brains about her crafting experience.

1. How did you get first get into embroidery?

My granny taught me to knit before I went to school and she helped me with some needlepoint kits. She was a real sticker for the back being as neat as the front! When I was around ten, I took up cross stitch. It became my go-to craft to relax when I was a student and throughout my working life. Giving up full-time work and having the opportunity to get involved with the Great Tapestry of Scotland in 2012 introduced me to what I thought of as ‘proper’ embroidery. It was absolutely incredible. I never thought I’d be able to do it but a lot of encouragement from Dorie Wilkie got me started and I’ve never looked back! A whole new world opened up to me and I’ve been fascinated by it ever since.

2. Has there been a particular project that taught you something unexpected?

I feel like I am constantly learning, especially when groups of people get together to stitch. There’s something about the rhythm of stitching that seems to relax people and often inhibitions go by the wayside. While running my embroidery course, I’ve learned everything from how to remove blood from fabric, to which particular participant had a crush on the local GP!

3. What project are you most proud of and why?

I suppose most people expect me to say that I’m most proud of my work on The Great Tapestry of Scotland and the new Welcome Panel. In fact, I’m prouder of the crewelwork piece I completed for my first module for the RSN Certificate in Technical Hand Embroidery. It was such an intense process from design, drawing, stitching and mounting that I didn’t think I would ever finish it but Helen McCook and everyone at RSN Glasgow was so encouraging and supportive. I look at the finished piece and I know how much blood, sweat and tears went into it (real blood on one occasion) and even though it may not be perfect it means a huge amount to me.

4. Who or what are your biggest inspirations?

I can’t think that there is any one thing that inspires me – I don’t think of myself as being particularly artistic (I was pretty much told never to darken the door of the Art department at school after it was no longer compulsory!) – but I do take a lot of photos on my phone of random things that catch my eye. Perhaps a shape, colour or texture. Maybe a pattern on wallpaper or cloud formations. My phone is full of seemingly random images which i go back to and often use as the basis for designs. I find myself more of then not looking at something and almost

5. Do you have any favourite techniques that crop up again and again in your work?

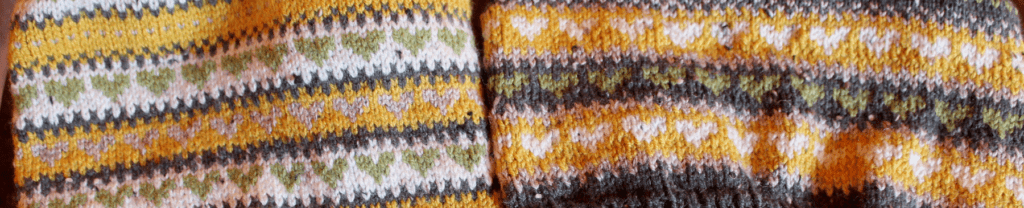
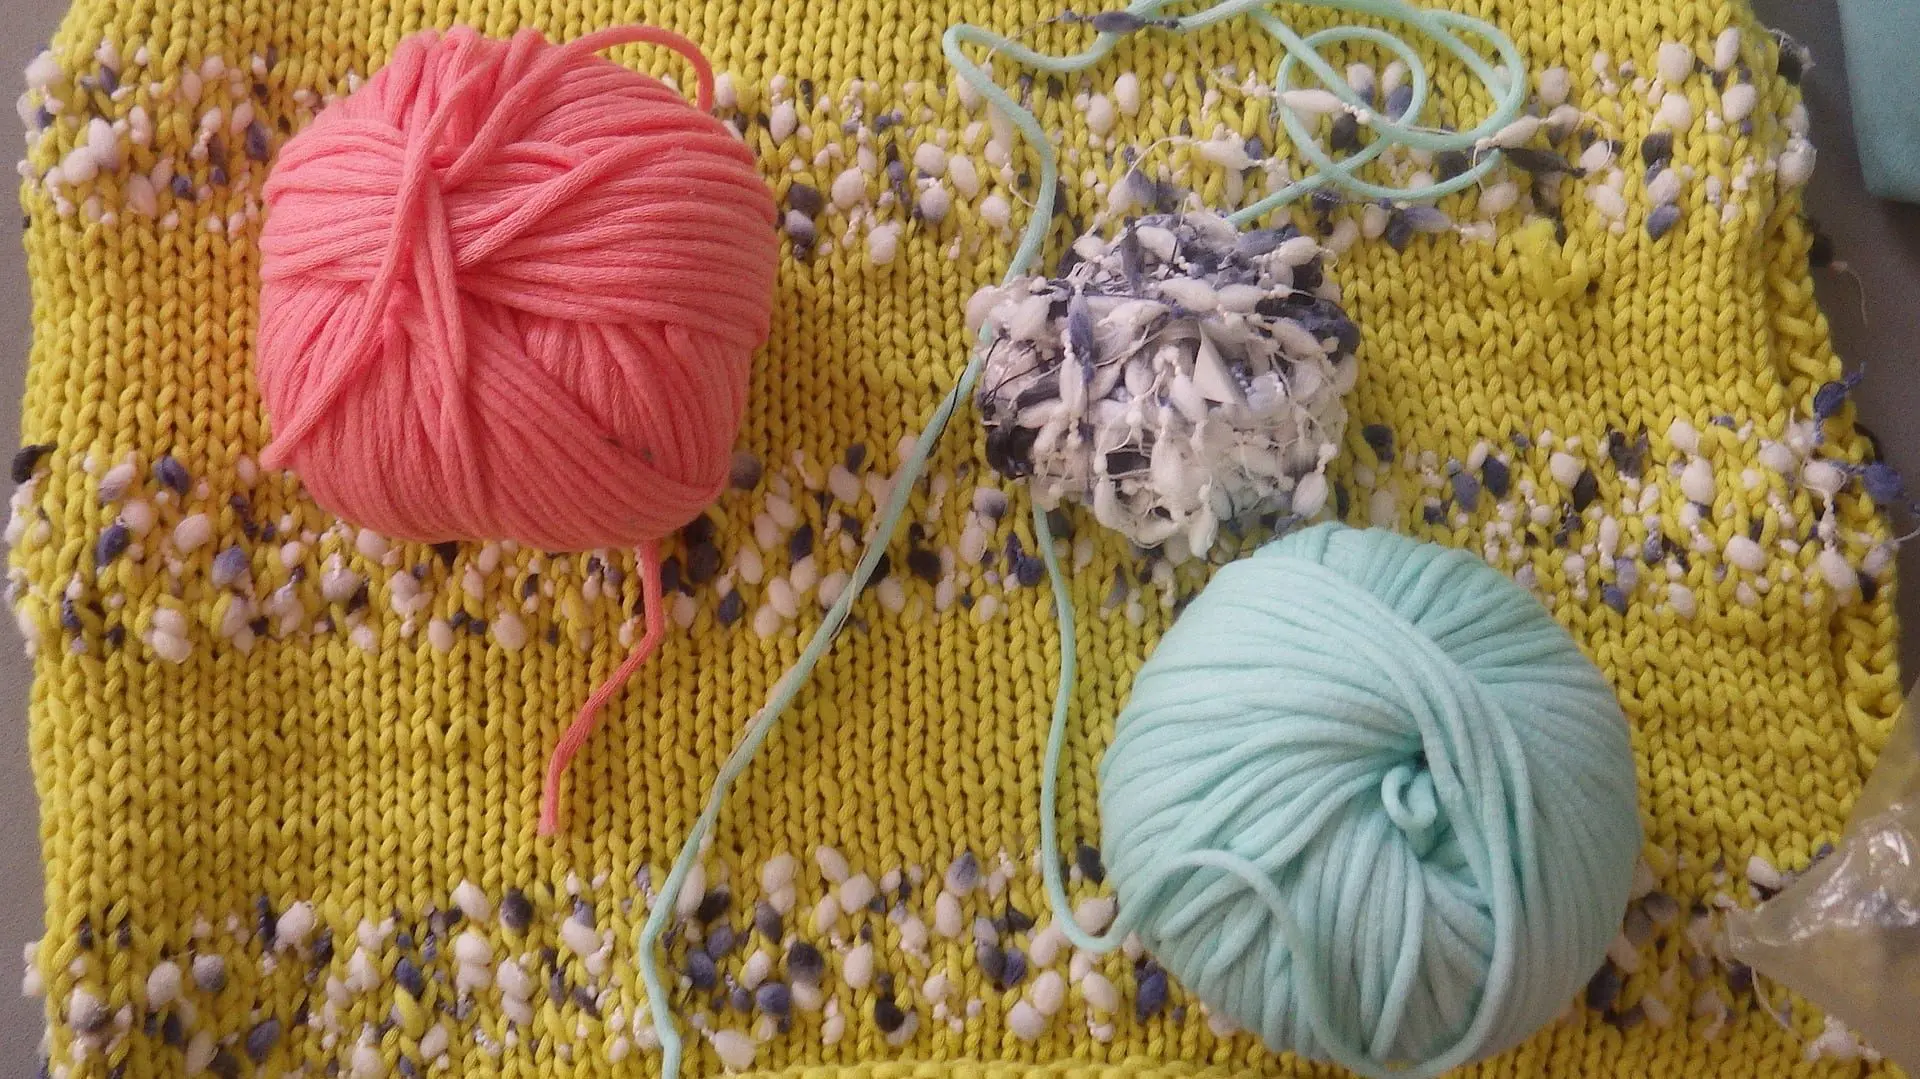
Embroidery is such a huge area that there always seem to be new techniques to try but I often return to crewelwork. I find the wool very forgiving when it comes to shading and blending and I love the feel of drum tight linen twill in a hoop or on a frame.

6. What are the common misconceptions about embroidery?

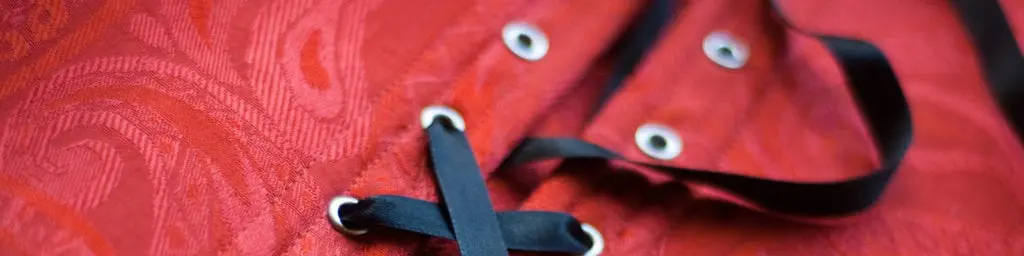
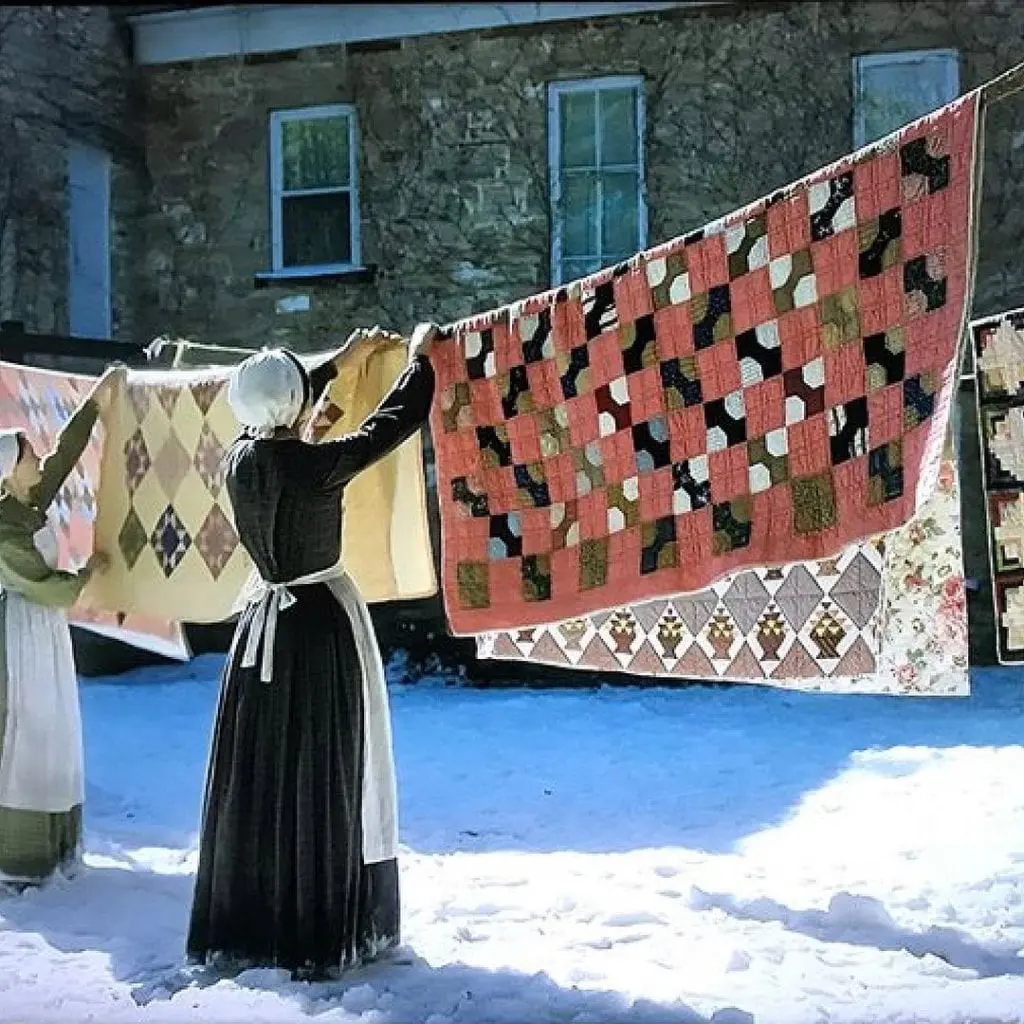
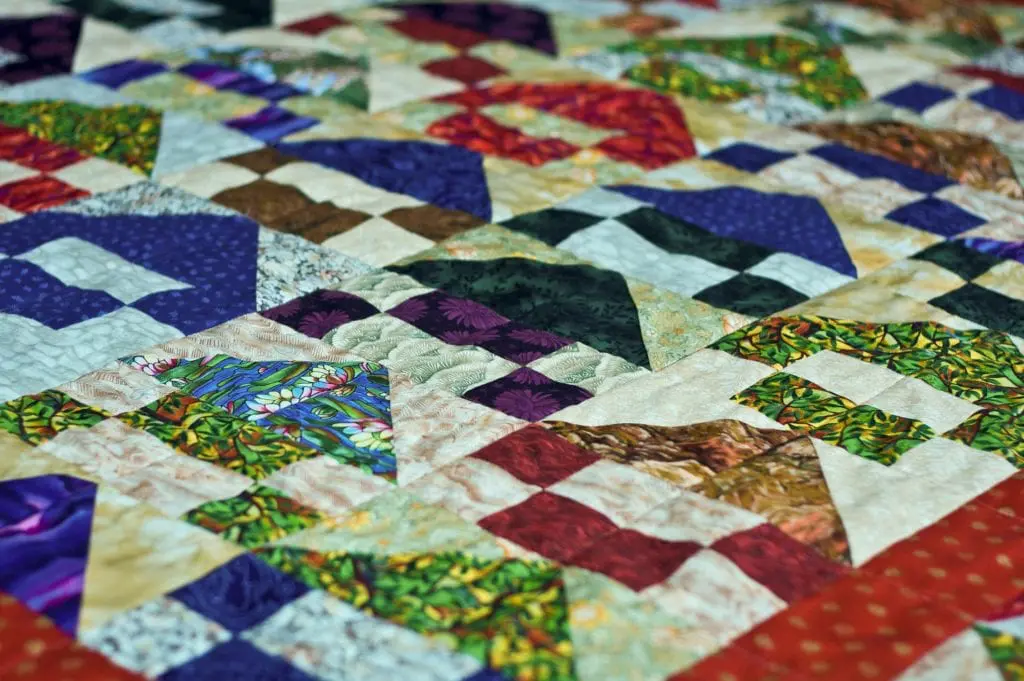
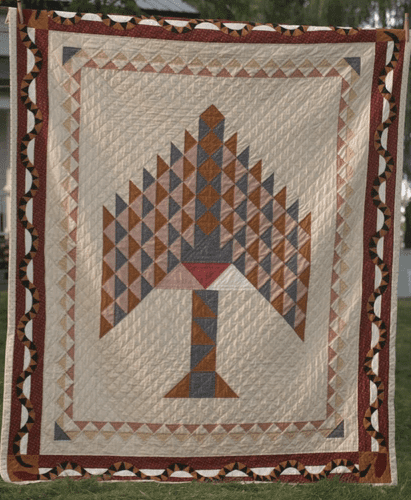
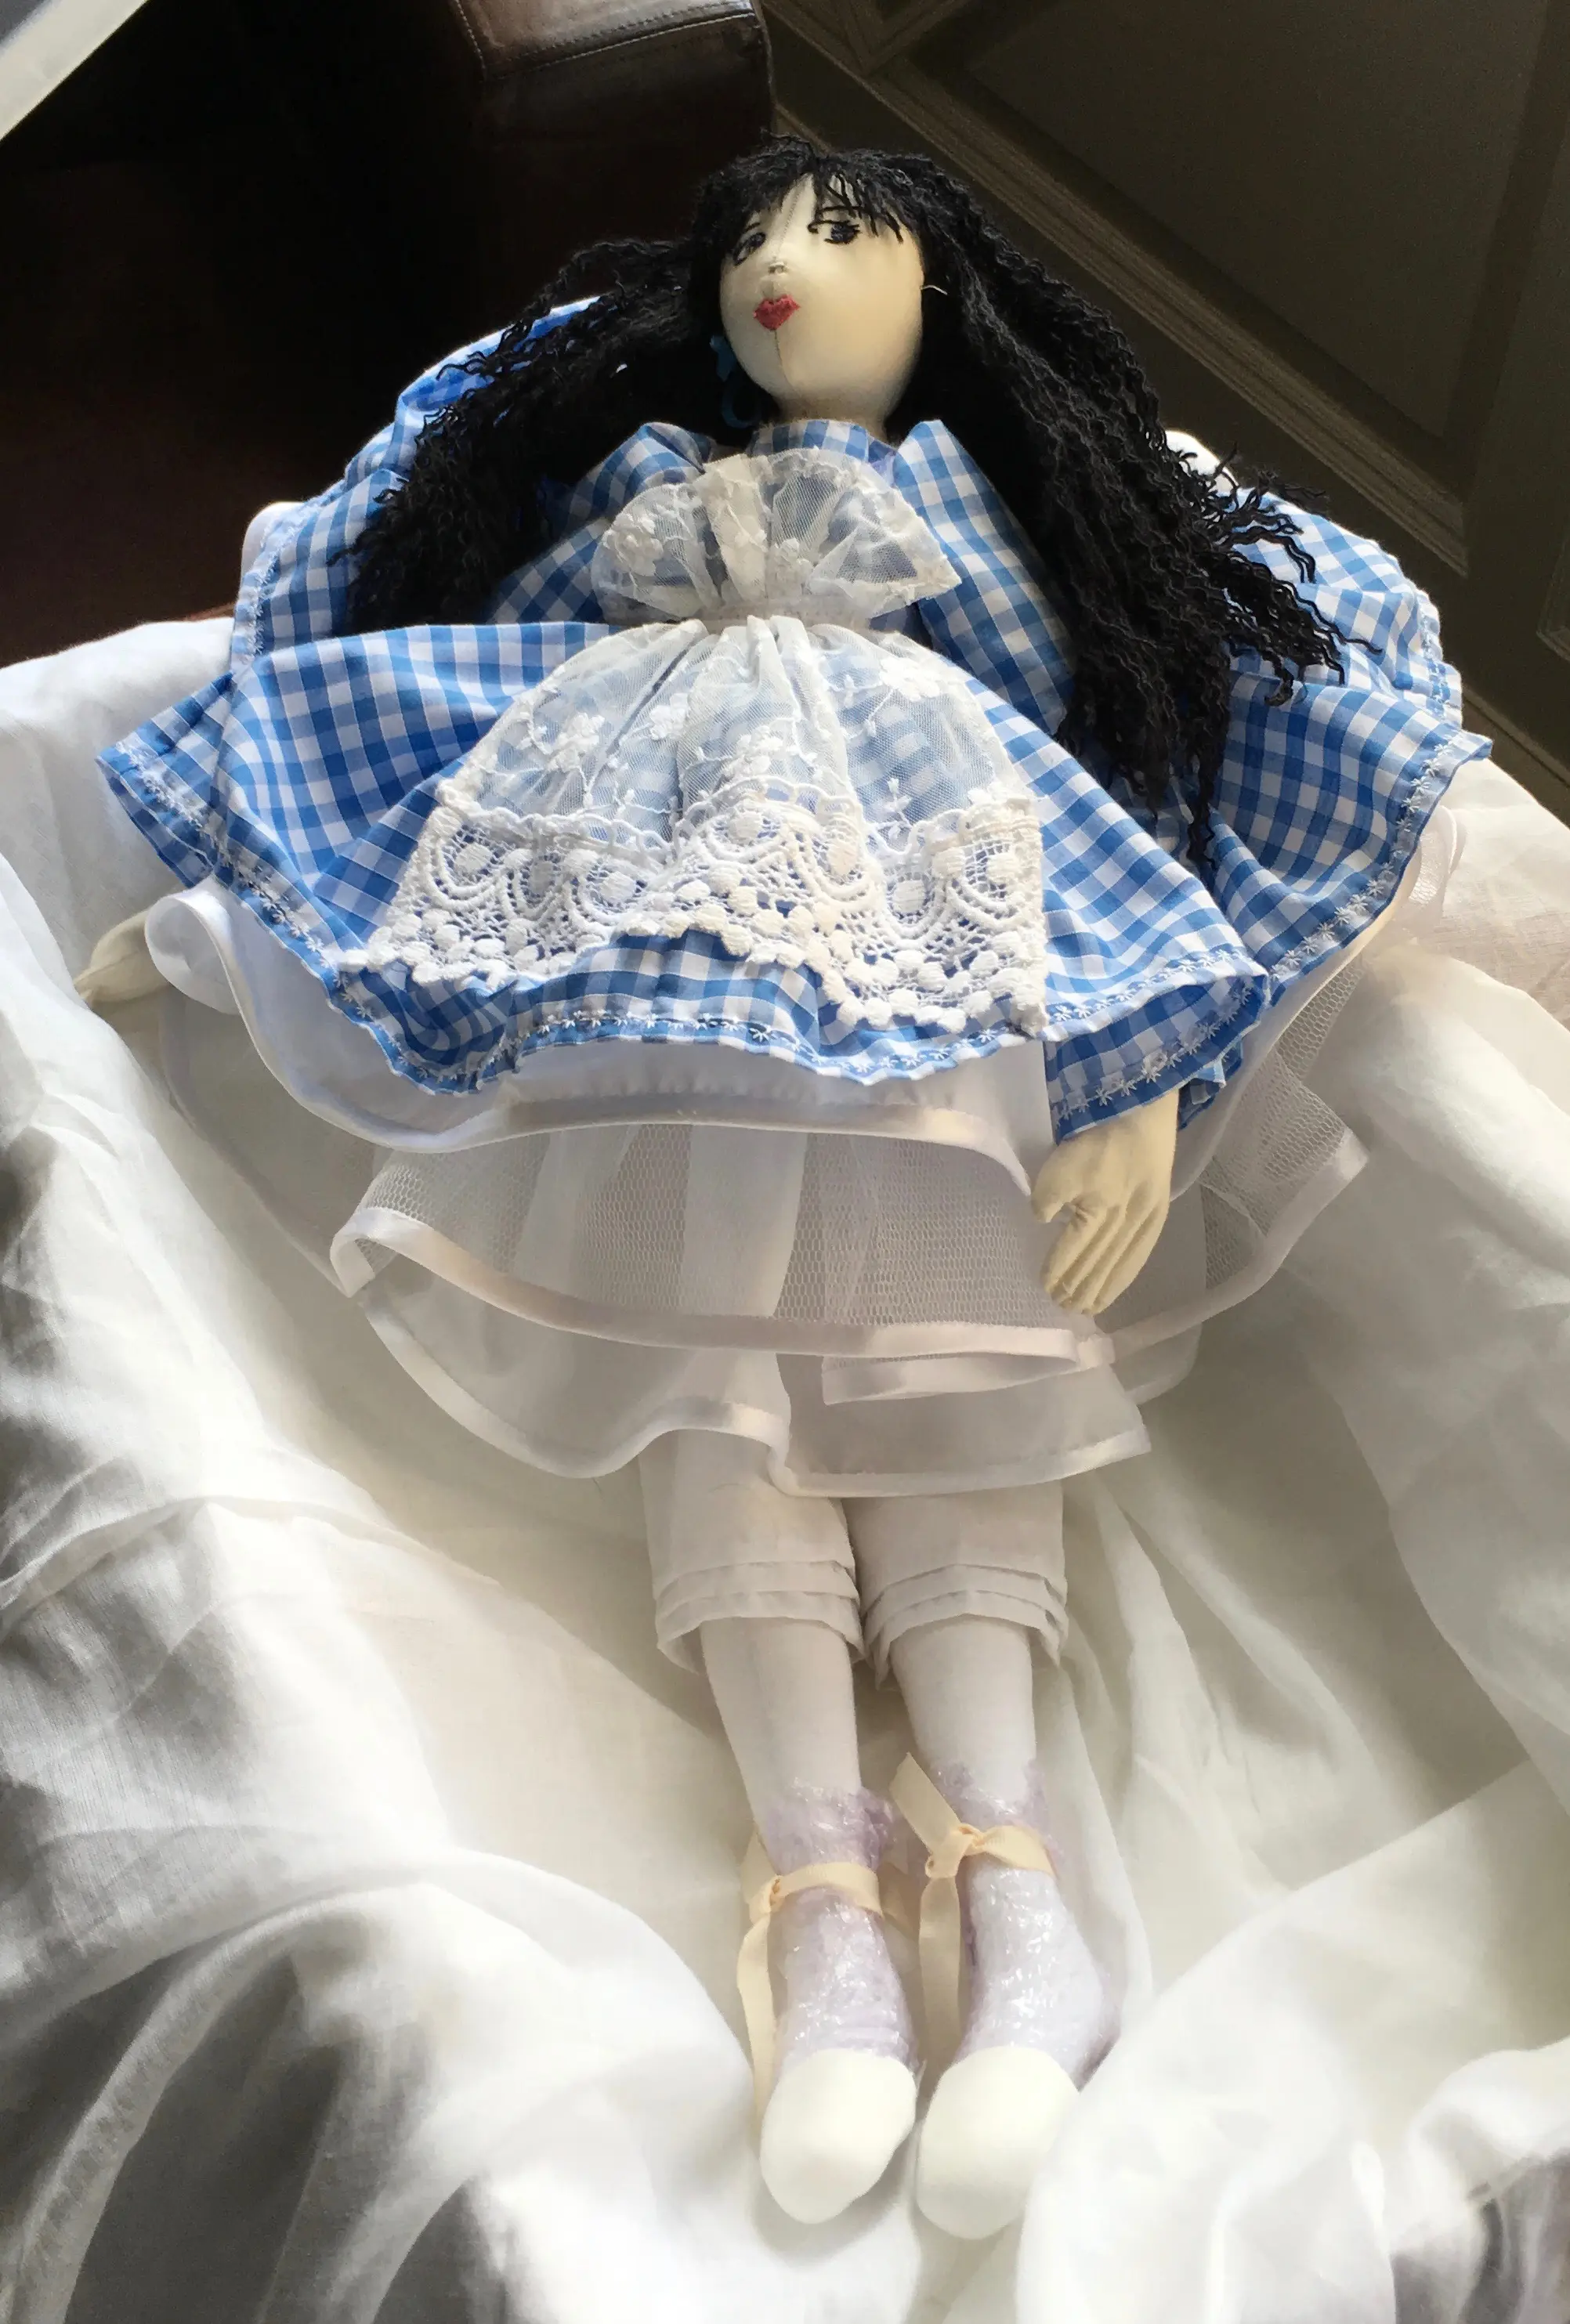
Many people have the impression that embroidery is a past-time for genteel older ladies but there are amazing textile artists out there using embroidery in some brilliant, innovative ways. From creative darning to political statements, beautifully intricate gold work, to cross stitch on industrial fencing, it’s a fabulous craft that can be adapted to many different situations.

7. What would you say drew you to teaching embroidery courses?

I have absolutely no idea! I can’t actually remember how my first embroidery course came about but I do know that I now get so much enjoyment from being with people, helping beginners overcome any initial nervousness and proving to people that they can create something beautiful that I can’t imagine doing anything else. During lockdown, I missed teaching the most. So many people come along doubting their own abilities and there is real satisfaction when someone masters a stitch they’ve struggled with or heads home at the end of the day having actually finished something they are proud of (lets face it, we’ve all got one of those drawers at home full of UFOs from craft classes!).

8. What would you say to someone curious about trying your craft for the first time? What should they know before they start?

Embroidery doesn’t have to be complicated or expensive – it can be what you want it to be. And just because you couldn’t do it at school, please don’t think that it means you’ll never be able to master it! There are so many different techniques, just come along with an open mind and give them a go! There’s bound to be something that you like!


And there you have it! Thank you to Susie for taking the time to talk to us and giving us such a lovely look into the world of embroidery. We can’t wait to see what kind of magic comes out of her next embroidery course.


For more information on Gartmore House’s embroidery course visit the course page or contact the team directly.
m: mail@gartmorehouse.com
t: 01877382991

Get to know corsetry course tutor, Alison Campbell

Alison Campbell spills the beans on all things corsetry!

Back in 2019 we were delighted to add a corsetry course to our ever growing roster of craft holidays and we recently took the chance to sit down with tutor Alison Campbell of Glasgow’s Crikey Aphrodite, to talk all things corsetry. Read on to find out a little bit about Alison and her love of this incredible art form!

How did you get first get into corsetry? 

I always liked the look of corsets. I think it was Saturday night westerns and Sunday musicals that did it from my youngest. So I love that mix of 19th century with 1950s. I always drew costumes and dresses when I was little and it grew from there into a love of costume and history topped up with a bit of Rocky Horror and general fashion likes. After many years in graphic design stuck at a computer I desperately wanted to do something hands on. My mum spotted an ad for a corsetry course in the newspaper, I booked it to try it out and was hooked.  

Has there been a particular project that taught you something unexpected? 

Nearly every one. A standout though are a corset for a client with a stoma that really pushed my problem solving and pushed me into looking at how nursing and maternity corsets were made a century ago to get ideas for a practical solution. 

What project are you most proud of and why? 

A wonderful bridal outfit for a client getting married at Edinburgh castle. Sometimes client vision and your own really get in sync and if they have the budget and the willingness to work with you then it’s good. This one was a huge silk skirt, full bust corset and veil. It was great fun to make. 

Who or what are your biggest inspirations? 

Undoubtedly Mr Pearl, whom I’ve been lucky enough to have spent some time with. His creations for the most well known names in fashion are just astounding. Are as his pieces for clients such as Dita Von Teese. 

Do you have any favourite techniques that crop up again and again in your work? 

I work a lot with full busted women as I work as a bra fitter too. This means some specific techniques to get the shape, support and comfort right. I use gores a lot, additional stiffening and extra boning.  

What would you say are some common misconceptions surrounding corsetry? 

There are so, so many. That they’re uncomfortable, that Victorians had ribs removed, that everyone in the past tightlaced, that you can’t move/breath/work in one. All utter nonsense, which I’ll be delighted to explain to anyone who will listen in more detail of course! 

What would you say drew you to teaching corsetry courses? 

I taught a corsetry course at a friend’s studio in the south of England. I discovered I enjoyed it more than I anticipated (never being one for standing up in front of groups) and that it’s incredibly rewarding passing on skills and seeing students develop. 

What would you say to someone curious about trying corsetry for the first time? What should they know before getting started? 

To be aware of accuracy, as tiny increases or decreases make big fit differences. And patience, as there are a lot of steps to making a corset. However that appealed to me as I have a short attention span and with a corset you’re always moving on to a different step/task. Also use quality materials. There’s no point spending hours making something if the materials won’t hold up past one wear. Other than that, if you can sew a line and follow a pattern you’re all set.  


And there you have it! Thank you again to Alison for talking to us and we can’t wait to see what kind of magic comes out of her next corsetry course.


For more information on Gartmore House’s corsetry course visit the course page or contact the team directly.
m: mail@gartmorehouse.com
t: 01877382991

Great Tapestry of Scotland welcomes you!

Embroidery tutor Susie Finlayson shares her experience of working on the Great Tapestry of Scotland welcome panel. You can see the welcome panel at the brand new visitor centre in Galashiels.


In June 2018 I visited the headquarters of the Scottish Borders Council to join Tapestry artist Andrew Crummy and historian Alastair Moffat to judge the designs created by local schools for a new panel for the Great Tapestry of Scotland. This new panel was to be displayed in the reception of the purpose-built Great Tapestry of Scotland visitor centre in Galashiels. It was a fabulous afternoon. The kids were enthusiastic and engaging, their designs were bright, bold, and well thought out. When Alastair and Andrew asked me to be involved in stitching these panels, I couldn’t refuse.

This is how I ended up with the challenge of co-ordinating the stitching of the new centre’s five panels! Each panel is 1.5m x 0.5 and has a main figure representing a different aspect of borders life; a shepherd, a mill lass, a monk, a reiver and a fisher lass. The borders’ rivers also meander through the panels. This was not going to be a small under-taking!

How it started

2019 got off to a great start. Andrew Crummy transferred the designs onto the linens. I persuaded several groups of stitchers to take a panel and make a start. Some were veterans of The Great Tapestry of Scotland. Some were very accomplished embroiderers who had been disappointed not to be a part of the original project. Others were complete beginners. This is part of the beauty of the Tapestry. It’s one of the world’s largest community artworks, created by over a thousand people of differing ability coming together to create a unique work of art.

As well as getting the stitching underway, I committed to taking the panels to the schools who had entered the design competition and teaching some of the students how to embroider. This was a daunting prospect but I needn’t have feared. It was brilliant fun. I went to 6 schools over 4 days with around 30 students each producing a piece which they had designed and stitched themselves. We enjoyed it so much that we thought we could take the panels to other places and invite people to ‘add a stitch’ and they did in their droves. Rainbows, Brownies and Guides, Beavers, Cubs and Scouts, the Boy’s and Girl’s Brigades, members of the SWI, friends and family, members of the public.

Our plans for 2020 were even bigger. We planned a Scotland-wide tour which included everything from an international tourism convention to local coffee mornings, stately homes to care homes. Over 1,000 people had stitched on the tapestry. Could we get over 1,000 people to add a stitch to the Welcome Panels?

And then COVID-19 hit.

How did we cope with Covid?

The country went into lockdown. Everything was cancelled. We didn’t know if it would even be safe to pass panels between stitchers. But our stitchers were nothing if not inventive! Panels were delivered with contactless drop-offs and 72-hour quarantines imposed before any more stitching could take place. We took to zoom to start swapping ideas and while a pandemic took over the world, we just kept stitching.

As well as the five main figures in the panel, there are 76 boxes around the edge containing images relating to a person, place or event connected with the Scottish Borders. Some are very obvious, some are a little more obscure but all of them tell a story.

Three years on from the schools design competition, we have five completed panels. They’re all joined together (with more than a few signs of relief when all of the relevant lines matched up!) and ready to hang in the new visitor centre. While the Great Tapestry of Scotland tells the story or Scotland her people, the Welcome Panel gives an insight into the Scottish Borders. When the centre opens later this year, you will be able to come along and see our stories for yourself.

For more information and the latest news from The Great Tapestry of Scotland visitor centre, visit their website.

Want to learn embroidery for yourself? Join us at Gartmore House for an embroidery holiday! For more information on Gartmore House’s course visit the course page or contact the team directly.
m: mail@gartmorehouse.com
t: 01877382991

A chat with knitting course tutor, Samira Hill

An example of guests’ knitting from a Knitting & Crochet Holiday

The crochet and knitting course here at Gartmore House has been a firm favourite for many years. It’s fair to say that tutor Samira is a familiar face around the house these days! Since we love talking all things crafty, we caught up with her for a wee chat about life as a maker.

How did you first get into knitting?

I learned to knit when I was seven or eight years old. My mum worked in a sewing factory and made most of our clothes. She didn’t have much time for a “slow” craft like knitting! I used to sit down with her sometimes and watch her sew. So, one day she dug up some wool and needles to occupy me (probably so I would leave her in peace!) and taught me the knit stitch. She used to cast on for me, then I would knit a few rows, then she would cast off and turn my rectangles into miniskirts for my dolls.

Although I liked it, I didn’t knit at all as a teenager. I picked it up again when sharing a flat with a Swedish flatmate who knitted regularly. It was only then that I got the bug again and restarted. She showed me how to cast on and a friend taught me to purl, and I was off!

After that I’m completely self-taught. I borrowed books from the library or bought them at charity shops, then “freestyled” to make accessories and presents. I taught myself how to crochet the same way a few years later. At first, I only crocheted borders and embellishments for my knitting, then for the love of crochet on its own. I was hooked!

Has there been one particular project that taught you something unexpected?

It’s very hard to narrow it down, I think somehow you learn with every project! I am quite good at twisting, changing, and turning one thing into something else halfway through if I am not happy with it or have changed my mind! Knitting and crochet are very personal craft, and no one knits or crochet to the same tension as each other, and the individuality it highlights is something that I really like in these crafts.

I always knew that I had a pretty loose tension when I knit or crochet, but once I made a very cute crochet dinosaur for my few months old nephew, made up of lots of small pieces, and it’s only when I put them all together and filled the toy with stuffing that I realised how “off” my tension had been. The dinosaur was huge! And way bigger than my nephew!! I still gave it to him though, he will play with it for longer!

What project are you most proud of and why?

Generally, I’m pretty satisfied with everything I make. However, I recently came across a Christmas present I made years ago for my mother-in-law, and rediscovering it, I was amazed by what I’d achieved! I’d made her a “cozy” for her big coffee pot, as she already had tea cosy, and I knitted one side showing a Christmas tree and snow that I had drawn on a piece of paper, then made a “non- Christmas” matching reverse side in crochet, so that she could use it all year long. I completed it with a round crochet placemat with Christmas colours on one side, and regular colours on the other, joined with crochet ruffles.

Back then I was just learning to crochet and had to figure out how to shape things and to make ruffles. I didn’t follow any pattern or photo for this cosy. I had the design in my head and I winged it all the way through! When I found it again recently, I was really proud of what I had managed to make – and with so little experience! It turned out well and she loved it and used it, so that’s a something I am really proud of! Shows sometimes it’s not the longest or hardest or most complicated project you can be the most proud of!

Who or what are your biggest inspirations?

There are some famous knitting and crochet designers who simply blow my mind with their ingenuity at manipulating the stitches to create unbelievable designs. As a designer myself, I know it is one thing to come up with the ideas, another to render them possible in knitting or crochet! Stephen West probably stands out in my mind. His designs aren’t always your typical everyday wear. They’re quite eccentric, but how they’re achieved is truly remarkable. Some people like Heidi Bear, Dedri Uys or Janie Crow can visualise crochet designs in 3D or in rounds on a large scale with intricate elements that completely work and are absolutely beautiful.

Other people like Elizabeth Zimmerman, or Nancy Marchant (again just to name a few), come up with completely “outside the box” thinking and create new stitches, new knitting methods even!

The designs, stitches and methods these designers create are a true inspiration, providing everyone with new and better skills to learn and use in a creative way.

Do you have any favourite techniques that crop up again and again in your work?

I love learning and using new techniques, but I guess Brioche Knitting still remains a strong favourite. I go through phases (socks, crochet blankets, garments, shawls, colourwork, lace etc.) but Brioche always seems to be a constant one. There is so much to this technique, it is infinite!

What are the common misconceptions about knitting and crochet?

There are many, but I guess the 2 that stand out the most are:
1. Knitting and crochet is for “grannies”
2. You can make a jumper in one day

Suffice to say none of the above is true. That said, misconceptions take a very long time to change. Slowly but surely I believe we are educating the world, either by knitting or crochet in public places (not just in front of the fire in our rocking chairs – although I do that too!), and as people watch us, let it be for a few hours on a train, they hopefully realise that it takes a lot of time, effort and skills to make something out of needles, hooks and yarn!

What would you say drew you to teaching a knitting course?

I love combining my jobs and my passion. As an archaeologist by trade originally, I got to explore my passion for heritage through my work. When it was time to change, I decided to use my other passion, crafts, in my job. I think it’s very important to pass these skills on, just as they’ve been passed down to us from generations for centuries. Then, since I worked on and off in teaching positions while I was at university, it felt very natural to put all these skills together! And I absolutely love it!

There are so many dimensions to knitting and crochet, from the simple notion of taking the time to make something from start to finish and the rewarding satisfaction of completing something whole, the relaxation and therapeutic elements of movement and repetition, the notions of commitment, dedication and focus, to the incredibly social, fun and creative aspects of these crafts, the list of benefits is endless! Teaching these just adds an extra enriching layer to all these elements.

What would you say to someone curious about trying your craft for the first time? What should they know before getting started?

I’m a firm believer that “there is nothing you cannot do, you just need to be shown how to do it”. So I put my words into action when teaching my knitting course. If you are interested, then do give it a go!

Knitting and crochet are not difficult, you just need to learn what to do, and improve your skills through practice. Just like everything else in life! In that respect, these crafts are suitable for everyone, regardless of age, gender, ability or financial means. Both materials and learning content come in a broad range nowadays. You can learn from a relative, from free online tutorials or paid knitting courses and workshops to getting yarns and equipment in charity shops and wool shops. The one thing I am very strict about in my teaching though, is that people MUST HAVE FUN.

These crafts need to be enjoyable and providing a pleasant experience, and absolutely not a source of worry or stress. When people start out, I tell them not to worry about mistakes. They’ll happen. They’re part of the learning process. Progression always comes before perfection, not the other way around. I try to encourage my students to not become impatient or frustrated because everything can be fixed. Ultimately I teach them that they are in control of their skills, they choose how it goes!

I believe crafts are empowering aspect, and confidence helps a lot when learning something new. I don’t just teach the crafts during my crochet and knitting course, I teach people how to understand how everything works. That way, they’re the ones in charge. They grow in confidence and can enjoy all the other great benefits that come with knitting and crochet.


And there you have it! Thank you to Samira for talking to us and for giving us such a wonderful insight into her crafty world. We can’t wait to see what kind of magic comes out of her next crochet and knitting course.


For more information on Gartmore House’s knitting course visit the course page or contact the team directly.
m: mail@gartmorehouse.com
t: 01877382991

Patchwork quilts and their storytelling potential in Alias Grace

A washing line full of brightly patterned patchwork quilts. Two women hang them up while snow covered the ground.
Patchwork quilts hung up to dry

When you first start watching ‘Alias Grace’, the Netflix adaptation of the novel by the same name by Margaret Atwood, you might not expect a crafting element. Perhaps you expect a murder mystery? Or a deep dive into life as an Irish immigrant in Canada in the 1800s? But it soon becomes clear that’s there’s more to this story than meets the eye and patchwork quilts play a key role.

‘Alias Grace’ fictionalises the story of Grace Marks, a woman accused of murdering her master, Thomas Kinnear, and his housekeeper, Nancy Montgomery, in 1843. Grace is serving a life sentence when the story begins but a group of social reformers believe she’s innocent and task Dr Simon Jordan with proving it.

So where do patchwork quilts come in?

Well, from the very first episode, we see an emphasis put on patchwork quilts and sewing. During each of Grace’s sessions with Dr. Jordan, she sews, and more specifically, she sews quilts. Why does this matter? In short, the series stitches her life together. We follow her story from her immigration to Canada, through her first jobs, the murders, and everything that comes after. There’s a particular focus on her relationship with Mary Whitney, her first true friend, and Nancy Montgomery. It’s a mystery that, even by the very last episode, still has you guessing. Is Grace a ‘murderess’ or a wrongfully accused victim? We don’t know.

At the beginning, Grace sews a log cabin quilt. It’s one of the first patchwork quilts she sews with its distinctive red square in the middle. Light and dark patches surround each red square, and it is rife with symbolism in the context of the story. In many ways, it could be taken as the truth of the situation, while the white and black rectangles around it are the lies and half-truths Grace feeds Dr Jordan about her life. She stiches them together until they are inseparable and one cannot be extracted from other.

In the book, the quilt metaphor is much stronger. The narrative weaves its way between Grace’s point of view as she tells her story and Dr Jordan’s point of view as he attempts to untangle the truth, layering their present with tales of the past. In amongst this, are poems and new articles that offer yet more perspectives on the murders and those involved. Much like a patchwork quilt, these different elements are stitched together to create a fascinating whole that can’t simply be broken down into its individual parts.

A modern patchwork quilt

Quilts as storytelling

Even in the series, the quilts of Alias Grace function as form of storytelling. They’re a way of preserving history, but more specifically, women’s history, since women traditionally did much of the sewing within a household. According to Grace, a woman should make three quilts before she’s married: a Tree of Paradise, a Flower Basket, and a Pandora’s Box. Although, some versions of this truism replace the Pandora’s Box with a Double Wedding Ring quilt. Thanks to its complicated twists and turns, it’s supposed give the maker all the skills she needs for running a household!

A tree of paradise quilt with a border of snakes and the three triangles of fabric from the three main women in the story.
Grace’s quilt she chooses for herself at the end of the series

Grace spends most of the series sewing for other people. But with her release, comes the opportunity to sew her own quilt. She chooses a Tree of Paradise. Snakes twist around the edges of a huge, eye-catching tree. And in the middle, Grace uses three triangles of saved fabric that connects her with the other two most important women in her story; her friend, Mary Whitney, and the woman she may have murdered, Nancy Montgomery. She preserves their story, and her truth, in her quilt. So although we don’t find out what really happened, we see Grace take ownership of her story. Even if it is just for herself.

How to choose the right yarn for your project

We’ve all been there. The stars have aligned and you’ve found the perfect pattern. It  fits your style and aesthetic  to a T, and is just the right challenge to while away the hours.  But then comes the rub. How are you supposed to choose the right yarn for your project? Of course, you could simply use the yarn suggested by the designer in the project but sometimes, that isn’t possible. Maybe it’s out of your budget, you’re attempting to de-stash, or maybe you simply don’t like that yarn. So, how do you do it?

It could be as easy as matching your gauge and calling it a day, but there’s so much more at play. Things like fibre, ply, yarn weight, and even colour will all impact the look of your finished object.

Fibre

Sometimes it feels like there are too many choices when it comes to yarn fibre and it can leave your head spinning.  At is broadest level; fibre is split into two categories: natural and synthetic. Purely synthetic yarn is generally much cheaper and easier to care for. However, acrylic yarns can be scratchy and don’t always offer the best stitch definition. Sheep’s wool, on the other hand, is without a doubt the best known and most commonly used natural fibre for yarn. It keeps you cosy but can also be used for summer garments thanks to its breathability and moisture wicking properties. An acrylic/wool blend will give you the best of both worlds since the acyclic will add durability to your knit.

If you have trouble with sensitive skin then alpaca and angora will add softness and help stop any irritation. 

Cotton and linen yarns are beautifully smooth and are known for their drape. Use them to show off your fanciest stitch work but be aware that they aren’t stretchy so a ribbed cuff on a jumper won’t spring back into shape!

Ply

Ply refers to how many strands have been twisted together to make your yarn. A single ply yarn is perfect for a softer look where definition isn’t the focus of the project. More plies, however, means more texture and definition.  When knitting cables and colourwork, for example, choose a yarn that’s plied and twisted to really show off your hard work.

A piece of knitting is in the background. It's yellow with stripes of textured white and grey stripes. The ball of white and grey textured yarn sits on top of the knitting along side a ball of coral yarn and a ball of pale turquoise.
Mixing yarns creates unique fabrics full of texture

Yarn Weight

This might seem obvious. Your pattern will give you the weight of yarn you need, you don’t need to think about it. However, one rising trend within the knitting community in recent years is holding two strands of yarn double to create new and interesting fabrics. This can be as simple as holding a strand of fingering weight yarn with some fluffy mohair to create a DK equivalent or doubling up on arran weight yarn to get a super plush, chunky fabric, but in either case, it will still effect your finished product. Adding that strand of mohair, for example, will create a fuzzy halo around your work and depending on the colour you use, can contrast or compliment your second strand. It can also provide structure to loose, lacy knits since the fine, mohair strands will ‘stick’ together.

Colour

Is choosing the colour of your yarn the best bit of any project? Quite possibly! But when you’ve got a whole rainbow to choose from, where do you start? It might seem obvious but the colour you choose can really impact the look of your finished knit. Traditionally, solid, contrasting colours were the go-to for Fair Isle, Intarsia etc. but variegated yarns create some beautiful watercolour-esque looks that are truly unique. For more complicated stitch patterns, cables, and lacework, solid colours are also the norm. Texture can be lost in the variegation and you don’t want to spend hours knitting only for it not to show up!

And there you have it. Here are a few tips and tricks to help you choose the right yarn for your next dream project!

[/et_pb_text][/et_pb_column] [/et_pb_row] [/et_pb_section]

Day Trips at Gartmore: 5 things you need to know

A picture of one of Scotland's lochs, one of many you'll see during your day trip
See all the sights with Gartmore House!

Did you know that Gartmore House is now offering day trips? We’ve been busy bees behind the scenes at these past few months and we recently launched our 2022 programme which is full to bursting with new art, craft, and activity holidays for you to try. But that’s not all we’ve been up to. Those of you with keen eyes might have noticed that we have an exciting, new programme of events on offer for accompanying guests starting in 2022. These accompanying guests will now have the option of taking part in a week-long package of day trips around Scotland!

But this is all new! You’re bound to have day trip questions and that’s why we’ve put together this blog to try and answer as many of your questions as possible.

Who are the day trips for?

Our day trips are for anyone who wants to come to Gartmore House with their crafty pal but doesn’t want to participate in one of our courses. We know that many of you love bringing friends, family, and partners with you when you join us for one of our courses, but are often at a loss for what they can do while you’re busy crafting. With this selection of day trips, they will experience Scotland in a whole new way during your stay. All the more to catch up on over dinner, wouldn’t you agree!

Who will run the day trips?

A professional, accredited guide runs all of our day trips and they lead the group out each day by minibus.

Do you have to do the whole week?

No. You are welcome to choose individual days in lieu of the whole package. These are priced at £300 per day and any combination of them can be added at checkout.

Where will they go?

Both near and far! Loch Lomond and the Trossachs is positively brimming with history and you don’t have to go far to find it. With days dedicated specifically to Scottish history, local interest, the Highlands, and Edinburgh, there really is something for everybody. There will be plenty of castles, lochs, glens, and even the chance for a dram or two. What’s not to love?

What else can they do?

If your accompanying guest doesn’t fancy any of the day trips, or if there is a day where they feel like doing something different, we can point them towards many amazing activities around the local area. With such a beautiful setting all around us, there are plenty of opportunities for cycling, golfing, fishing, and hiking right on our doorstep.

And there you have it. Everything you need to know about our new day trips programme. We can’t wait to share our day trips with you all in 2022!

  • November 19, 2020
  • News

5 tips to enhance your photography skills

When it comes to photography, Scotland has so much to offer. When you think about Loch Lomond and the Trossachs you think of the lochs, forests, rolling hills, and rugged landscape that surrounds us at Gartmore house. There’s so much beauty it can be hard to know where to start and it’s even harder if you’re a beginner photographer. How can you make the most of the landscape and your equipment? Well, we asked our photography tutor, Ewan Barry, to give us some insider tips and tricks so that you can start improving your photography skills today.

Scotland: the photographer's playground

Scotland: the photographer’s playground

  1. What do you want your photograph to say about the subject?

Once you’ve decided what you want to photograph, consider what you’re trying to describe. What sort of feeling do you want to evoke? For example, you can explore movement, texture, and form. Bring them to the forefront of your photograph individually or combine them to create a multi-layered image. Once you know what you want to say, it’s time to find a way of capturing it on camera.

  1. Composition is key

The composition is the very foundation of you image. In many ways, deciding what to include is the easy part but you have to consider what you want to exclude as well. This can mean playing with elements like symmetry, negative space, shapes, and colours to direct the viewer’s eye across the photograph.

  1. Play with your camera settings

    Black and white images bring out texture and contrast

    Black and white images bring out texture and contrast

While it’s tempting to just point and click when starting out, a good camera will have a multitude of settings that will allow you to customise your picture. If you have decided to make movement your focus, then one particular photography technique to experiment with is different shutter speeds. Slow shutter speeds are ideal for photographs of running water whereas a faster shutter speed is perfect for birds taking flight.

  1. Control your camera

When you’re just starting out, all you need in terms of photography equipment is something such as a tripod that will give you some control over your final image. Even a small tripod will make all the difference to your pictures. If you are focusing on using longer shutter speeds like we mentioned above then it will work to minimise any unwanted motion blur and help to give you the crystal clear photographs you so desire!

  1. Don’t be limited by your equipment

improve your photography skills

Your phone camera is more than enough!

As a photography beginner, the thought of shelling out for a DSLR camera can be a bit daunting but don’t worry! Your phone’s camera is more than enough to capture some fantastic images when you’re first starting out. Of course, phones have their limitations in that they may not offer the same kind of quality or image size as traditional cameras, but this is only as issue if you want to make large scale prints. But these limitations can encourage a whole new level creativity as you hone your photography skills. In fact, most of the images shown here were taken with an iPhone 6s!
 
And there you have it! With these 5 tips you can start improving your photography techniques today.


3 Art Cloth Doll Making

Art Cloth Doll Making Workshops – Hello from Tutor Angela Neilson

If you’re keen to use your sewing skills in a different way, then our Art Cloth Doll Making workshops here at Gartmore House may just be your cup of tea!  Here, tutor Angela Neilson explains a bit more about what you can expect to learn from the course, and showcases examples of some of the dolls created by own hand and by her students:
I look forward to welcoming everyone, no matter what the skill level or past experience, to my Art Cloth Doll workshop. Beginners will be surprised at what they can achieve; rest assured that you can make a doll you are delighted with. In addition to the courses I’ve run at Gartmore House, I have facilitated a similar workshop with school-age children with great success.So you don’t have to be an expert with a needle and thread or sewing machine. 
Art Dolls
More experienced stitchers can enjoy using their talents in a project unlike any other, making a unique, one of a kind, doll. Making dolls is a great ice breaker if you’re making new friends on the course, and there is always a great deal of hilarity over the creating and handling of dis-articulated “body parts”.

Toni's Doll

Toni’s Doll


Previous workshop participants have had a great time, and some particularly skilled ladies produced dolls of a standard way beyond my expectations. These examples shown here in this blog (of students work) are outstanding, but don’t be intimidated, something more straightforward can be just as effective.
Barbara's Doll

Barbara’s Doll


Although we are making dolls, there is no need to stick with traditions. This is an opportunity to be daring and pursue the ‘artistic’ side of cloth doll making. Recently, I pushed myself out of my comfort zone, researching modern portraits by artists such as Picasso and Mondrian, using what I have learned to make less traditional doll faces.
Modern Style Doll's Head

Modern Style Doll’s Head


If you have any questions/concerns then I’m happy to help answer them – please just get in touch with the team at Gartmore House who will in turn put you in touch with me. We could even arrange to have a phone chat about what the holiday offers, before you commit. I looking forward to seeing you in May or October 2020.
For further information about tutor Angela’s Art Cloth Doll Making Workshops at Gartmore House or if you’re ready to BOOK NOW, please visit the Course Webpage, or give our friendly team a call on +44 (0) 1877 382991.
#gartmore experience | gartmorehouse.com | mail@gartmorehouse.com | +44 (0) 1877 382991

2 Corsetry Workshop

NEW for 2020! Corsetry / Corset Making Course at Gartmore House

We’re super excited to introduce our new CORSETRY / CORSET MAKING residential courses here at Gartmore House.  Tutor and corsetiere Alison Campbell (owner of ‘Crikey Aphrodite’) says hello and explains more in our guest blog:

Corsetry Tutor - Alison Campbell

Corsetry Tutor – Alison Campbell

Hi everyone,

I’m very much looking forward to meeting some enthusiastic budding corset-makers at my classes for Gartmore House. I’ve been running Crikey Aphrodite for over a decade now, making bespoke corsets for everyone from brides to performers and people of all ages. Clients looking for a beautiful shape, bust and back support, or just a gorgeous eye-catching garment. I’ve also been teaching for a number of years as I just love seeing others fall into the addiction of corsetry.

The amazing thing about corsets is that they allow you to really let your imagination and creativity fly, but within the constraints of a fairly small, structured garment. In fact corsets in themselves are rather like sculpture, with beautiful lines and curves. They allow you to apply all sorts of other crafts such as embroidery, lace, fabric painting. Or just to showcase that gorgeous piece of fabric you’ve been saving that was too small for anything else.

Corsetry student

Corsetry Student

The corset most people are familiar with, and is most used in modern corsetry, is the late Victorian shape. Very curvy, with good bust support, and works on most figures. This is the style I use in beginners classes. As it’s the easiest to wear with contemporary clothing, either as under or outerwear. It’s also the style most think of as being tightlaced. However it can be as gentle and supportive as you wish it to be. A lot more comfortable and infinitely more beautiful than modern day shapewear. In fact, even the Victorians didn’t lace as tight as is popularly believed. I’ll be dispelling some of the many myths that surround corsetry during our time together.

Corsetry Student

Corsetry Student

The other style of ‘corset’ I’ll be exploring with students at Gartmore House is a little earlier and very in keeping with the period of the building. We’ll be taking a turn back to the 18th century and making stays. The type of ‘corset’ (the word wasn’t really used for this earlier style) we see through Elizabethan times right up to the late 18th century was a variation on this conical shape. It shifted and altered subtly over the centuries and ended up with that familiar and very striking shape. Those of you who have been watching Outlander will be used to seeing stays on heroine Claire and other supporting female characters.  Also films such as Dangerous Liasions and Marie Antoinette are very inspirational. They are very comfortable to wear, and for this reason, as well as the amazing shape, have been used heavily by designers such as Vivienne Westwood and often show up in bridalwear. We won’t go into full historical accuracy, as we won’t quite have time to hand stitch an entire set of stays… we’ll opt for the modern shortcuts. But we will discuss them, so if accurate reenactment is your thing you will learn where to take the knowledge you gain. However if you want the look and a modern interpretation, we’ll achieve that too.

I can’t wait to share my love of corsetry with you and spend time talking about it as well as sewing of course. So do come along and join us. I can’t provide the time travelling stones of Outlander, but I can make sure you’re dressed appropriately in case you do.

    For details of our Corsetry courses here at Gartmore House, please visit our website, or feel free to contact us – +44 (0) 1877 382991 or email mail@gartmorehouse.com  #gartmoreexperience gartmorehouse.com

  • November 6, 2019
  • News
1 2 3 6
":1},"TCM_Cache_Query_2_":[{"id":"post","text":"Post (post)","name":"Post (post)"},{"id":"page","text":"Page (page)","name":"Page (page)"}]},"conditional_display":{"is_tooltip_dismissed":false}}; /* ]]> */